Design System
v1.5.0
NDS on GitHub
Using Font Awesome Pro with NDS (NPM)
Updated: December 9, 2020
Overview
NIAID Design System (NDS) users automatically have access to the free version of Font Awesome, the official icon library of NDS. If you have been granted access to the paid Font Awesome Pro version by the Office of Communications and Government Relations (OCGR), or are planning to purchase and incorporate Pro into your NDS site yourself, this guide will detail the steps involved using the Node Package Manager (NPM) approach.
Obtaining Your License Key
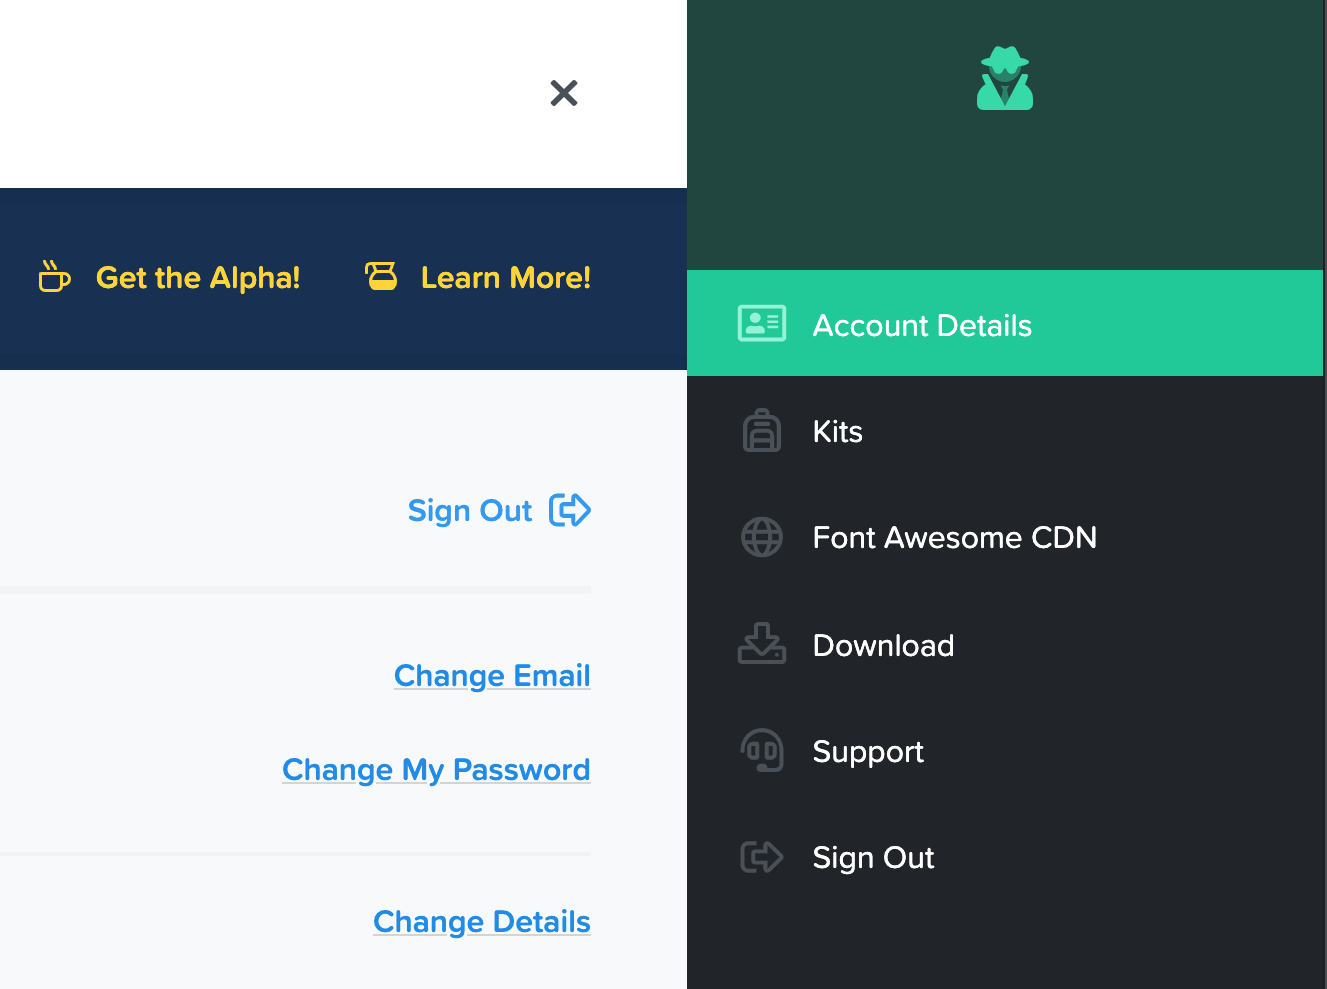
Find your account details below your personal information on the Font Awesome website.
Credit:
Font Awesome
The first step in integrating Font Awesome Pro into your site is adding a license file containing your Pro account license key.
- Login to your Font Awesome account.
- Click on the profile icon in the top right of the site.
- Select "Account Details" below your personal information.
Your license key will be under a section named "Pro npm Package Token."

The location of your Font Awesome license key.
Credit:
Font Awesome
Creating a License File
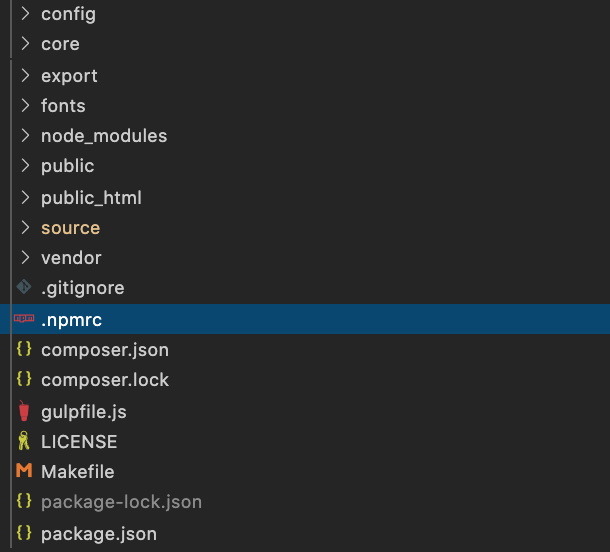
Place your .npmrc file in the same location as your package.json file.
Credit:
NIAID
- Open your project repository in your preferred code editor.
- Create a new file named .npmrc in the same folder where your package.json file resides.
- Paste the following code in this new .npmrc file:
                            @fortawesome:registry=https://npm.fontawesome.com/
                            //npm.fontawesome.com/:_authToken=XXXXXXXX-XXXX-XXXX-XXXX-XXXXXXXXXXXX
Replace "XXXXXXXX-XXXX-XXXX-XXXX-XXXXXXXXXXXX" with your license key.
Installing Font Awesome Pro with NPM
With your .npmrc file created, run the following command to install the Font Awesome Pro Node module:
npm install --save @fortawesome/fontawesome-pro
The installed Node module is named @fortawesome.
Copying Webfonts & Modifying the SCSS File
Now that the Font Awesome Pro Node module is installed, you can utilize the accompanying font files in your SCSS.
To start, copy the files in the @fortawesome/fontawesome-pro/webfonts folder from within the Node module and paste the files inside your src/webfonts/ directory under font-awesome/. You may hit "Replace" if you receive a notification about duplicate font files.
Navigate to the style.scss file in src/css/. Add the following line below the Font Awesome import statements starting on line 6:
@import "../../node_modules/@fortawesome/fontawesome-pro/scss/light";
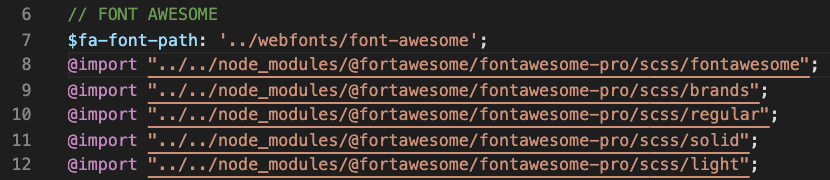
The style.scss file after adding the previous code.
Credit:
NIAID
You are now set up to use Font Awesome Pro with NDS. With Font Awesome Pro, you can access more Regular icons as well as the full set of Light and Duotone icons. If you would like more information on using Font Awesome with NPM, visit Font Awesome NPM Documentation.
Ask Questions, Report Issues, Stay Informed
For questions about the NIAID Design System or to report issues, please visit the Issues tab of the NDS repository on GitHub. To get updates on NDS features and changes, please add yourself as a "Watcher" on the NDS GitHub repository.
NDS on GitHub